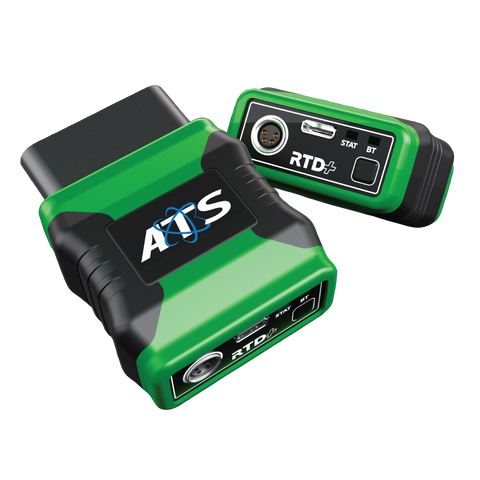
If you are new to the RTD+ and Tuning with it, Start here! If you already have everything set up and want to get started on the tuning process, scroll down to "Tuning Process!"
Set up!
Step 1. Open your new RTD+!
Step 2. Connect your RTD+ to your Windows10 based laptop or tablet.
Step 3. Download and install the RTD+ Flasher softer provided via email.
Step 4. On HPTuners.com, go to "My Account" and create a new account.
Step 5. Open the RTD+ Flasher software, go to "Help", then RTD+ Verification Code.
Step 6. Go to "My Devices" and enter your RTD+ Serial Number and Verification ID in the MPVI2 Section, and click "Import".
Step 7. If your verification code doesn't come up in the software, you may need to first resync your RTD+. Do that by clicking "Help", then "Resync Interface". After that, go back to Step 6.
Step 8. Download VCM Suite(Beta) at HPTuners.com
Step 9. Install VCM Suite. Out of this, only VCM Scanner and RTD+ Flasher software is supported by the RTD+. VCM Editor is not.
Your RTD+ is now ready to go!
Tuning Process!
Step 1. If your car has a tune from another device or another tuning business, return the vehicle tune to stock. FAILURE TO DO SO COULD RESULT IN ADDITIONAL COSTS
Step 2. Make sure your RTD+ is connected to the vehicle and to your Windows10 based laptop or tablet, and open the RTD+ Flasher software.
Step 3. Select "Read Vehicle", then click "Read" in the pop-up window. When the read is complete, save the file as "Stock File".
Step 4. Open the previous email from us and reply to it with all vehicle modifications and attach the "Stock File".
Step 5. When you receive our email back, save the ATS custom tune and any channel configs for data logging from your email to your computer.
Step 6. Connect the RTD+ to the vehicle and to your Windows10 based laptop or tablet, and open the HP Tuners RTD+ Flasher software.
Step 7. If you have already purchased credits for your vehicle, go to "Help", and click "Resync Interface".
Step 8. Go to "File", "Open", then select the custom tune.
Step 9. Click "Write Vehicle".
Step 10. When asked about Licensing, select "Show Licensing Options", select "Specific", and then "OK".
Step 11. When the "Vehicle Writer" box appears, make sure "Write Entire" is selected, then click "Write". Failure to select "Write Entire" can result in a disabled PCM!
Step 12. Once the custom tune has been written, you're ready to data log!
Data Logging!
Step 1. Open VCM Scanner.
Step 2. Plug RTD+ the laptop USB first, then into your vehicle's OBD2 port.
Step 3. Select “Connect to Vehicle” (the left car icon at top left).
Step 4. Select “Disconnect from Vehicle” (the right car icon at top left).
Step 5. Select “Vehicle” tab, “Vehicle Profiles”, then select “Vehicle Profile Editor”.
Step 6. Enter the Vehicle OS into the “User OS” box.
Step 7. Select “X” to exit Profile Editor.
Step 8. Select the “Recent Channel Config” folder, then select “Open Channel Config”.
Step 9. Now find and select “Mustang Channels” downloaded from the email.
Step 10. Select “Connect to Vehicle”.
Step 11. Start the car.
Step 12. Select “Start Scanning” (red circle at top left).
Step 13. Perform the requested idle/drive cycle then hit “Stop Scanning” (blue square in top left).
Step 14. Select “Log File” then “Save Log File As”.
Step 15. Save file and email to jdbaker544@gmail.com
